Building on raw land in Western Washington is exciting, but the work that happens before construction begins is just as important as the build itself. Proper land preparation prevents costly delays, foundation problems, and environmental issues down the road. Here's your complete guide to getting your Snohomish, King, Skagit, or Whatcom County property build-ready.
Step 1: Survey and Assess Your Property
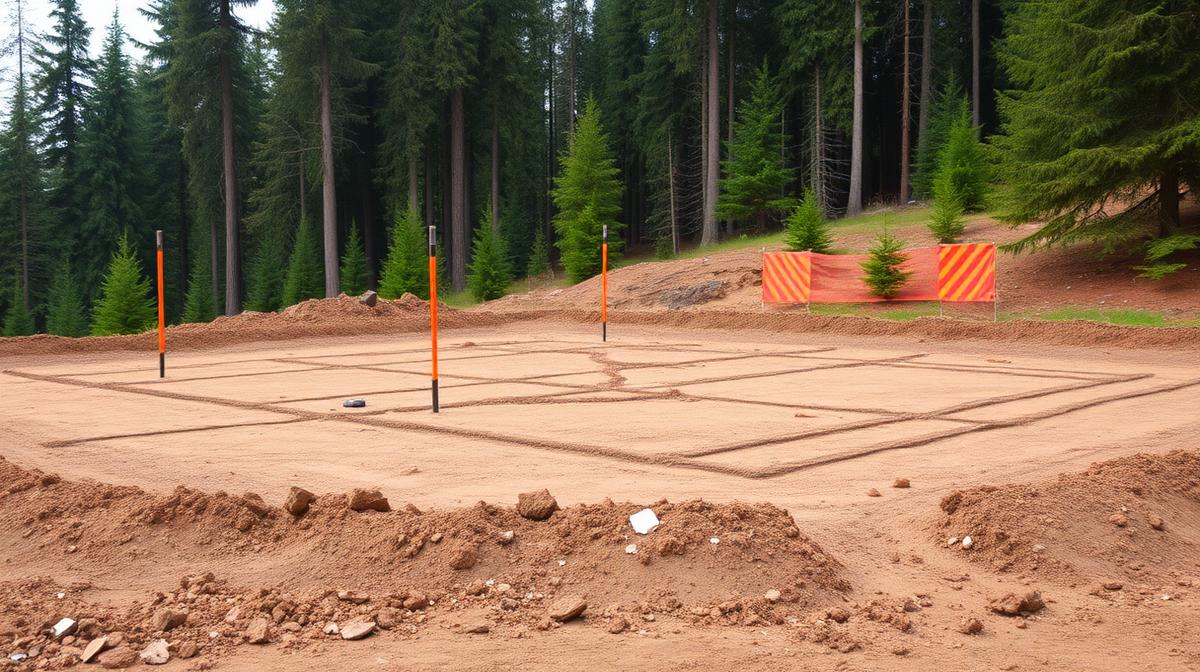
Before any clearing begins, get a professional land survey to establish property boundaries and identify easements. Walk the property to note drainage patterns, slopes, rock formations, and any environmental features — wetlands, streams, and critical areas that may affect where and how you can build. In Western Washington, critical areas review is mandatory in most jurisdictions. Snohomish County, King County, and most cities require critical areas studies before clearing permits are issued. Identifying these early prevents expensive surprises later.
Step 2: Navigate Permits and Regulations
Western Washington's clearing permit requirements vary by jurisdiction. Snohomish County requires clearing and grading permits for most sites. King County has its own set of regulations, particularly around the Rural Forest Production zone. Cities like Everett, Marysville, and Lake Stevens have additional tree removal regulations. We help our clients understand which permits they need before work begins, saving time and preventing violations.
Step 3: Clear the Building Envelope
The building envelope is the area where your structure, driveway, and utility connections will go. Forestry mulching is ideal for this step because it clears vegetation without disturbing the underlying soil structure — critical in Western Washington where our clay-heavy glacial till is easily damaged by heavy equipment. We typically recommend clearing 20–30 feet beyond the actual building footprint to allow room for construction equipment access and drainage grading.
Step 4: Address Drainage and Grading
Poor drainage is the number one cause of foundation problems in Western Washington. With 35–50 inches of annual rainfall, water management isn't optional — it's essential. After clearing, assess how water flows across your site during rain. You may need to regrade certain areas, install French drains, or create swales to direct water away from your future foundation. This is much easier and cheaper to do before construction starts.
Step 5: Utility Access and Driveway
Clear paths for your driveway and utility connections — water, electric, septic, and internet. These routes should follow the natural contour of the land when possible to minimize grading costs. For rural Western Washington properties, you may also need to clear a wider access road for construction vehicles, concrete trucks, and material deliveries. Consider year-round access — that gravel driveway that works fine in August may become impassable in January without proper drainage and base preparation.
Step 6: Erosion Control
Exposed soil is vulnerable to erosion, especially on Western Washington's slopes during the rainy season. After clearing, install silt fencing around the perimeter of disturbed areas and seed any exposed ground that won't be built on immediately. The mulch left behind by forestry mulching acts as a natural erosion barrier — another major advantage over traditional clearing. Snohomish County and King County both require erosion control plans for most clearing projects, and inspectors will check compliance.
Getting Started
The land preparation phase typically takes 1–3 days for residential properties in Western Washington. We work with builders, homeowners, and developers to create a clearing plan that balances construction needs with environmental protection and code compliance. Reach out at (360) 322-4587 for a free site visit and estimate.
Explore Our Services
Service Areas Mentioned
Related Services
Ready to get started?
Get a Free Quote